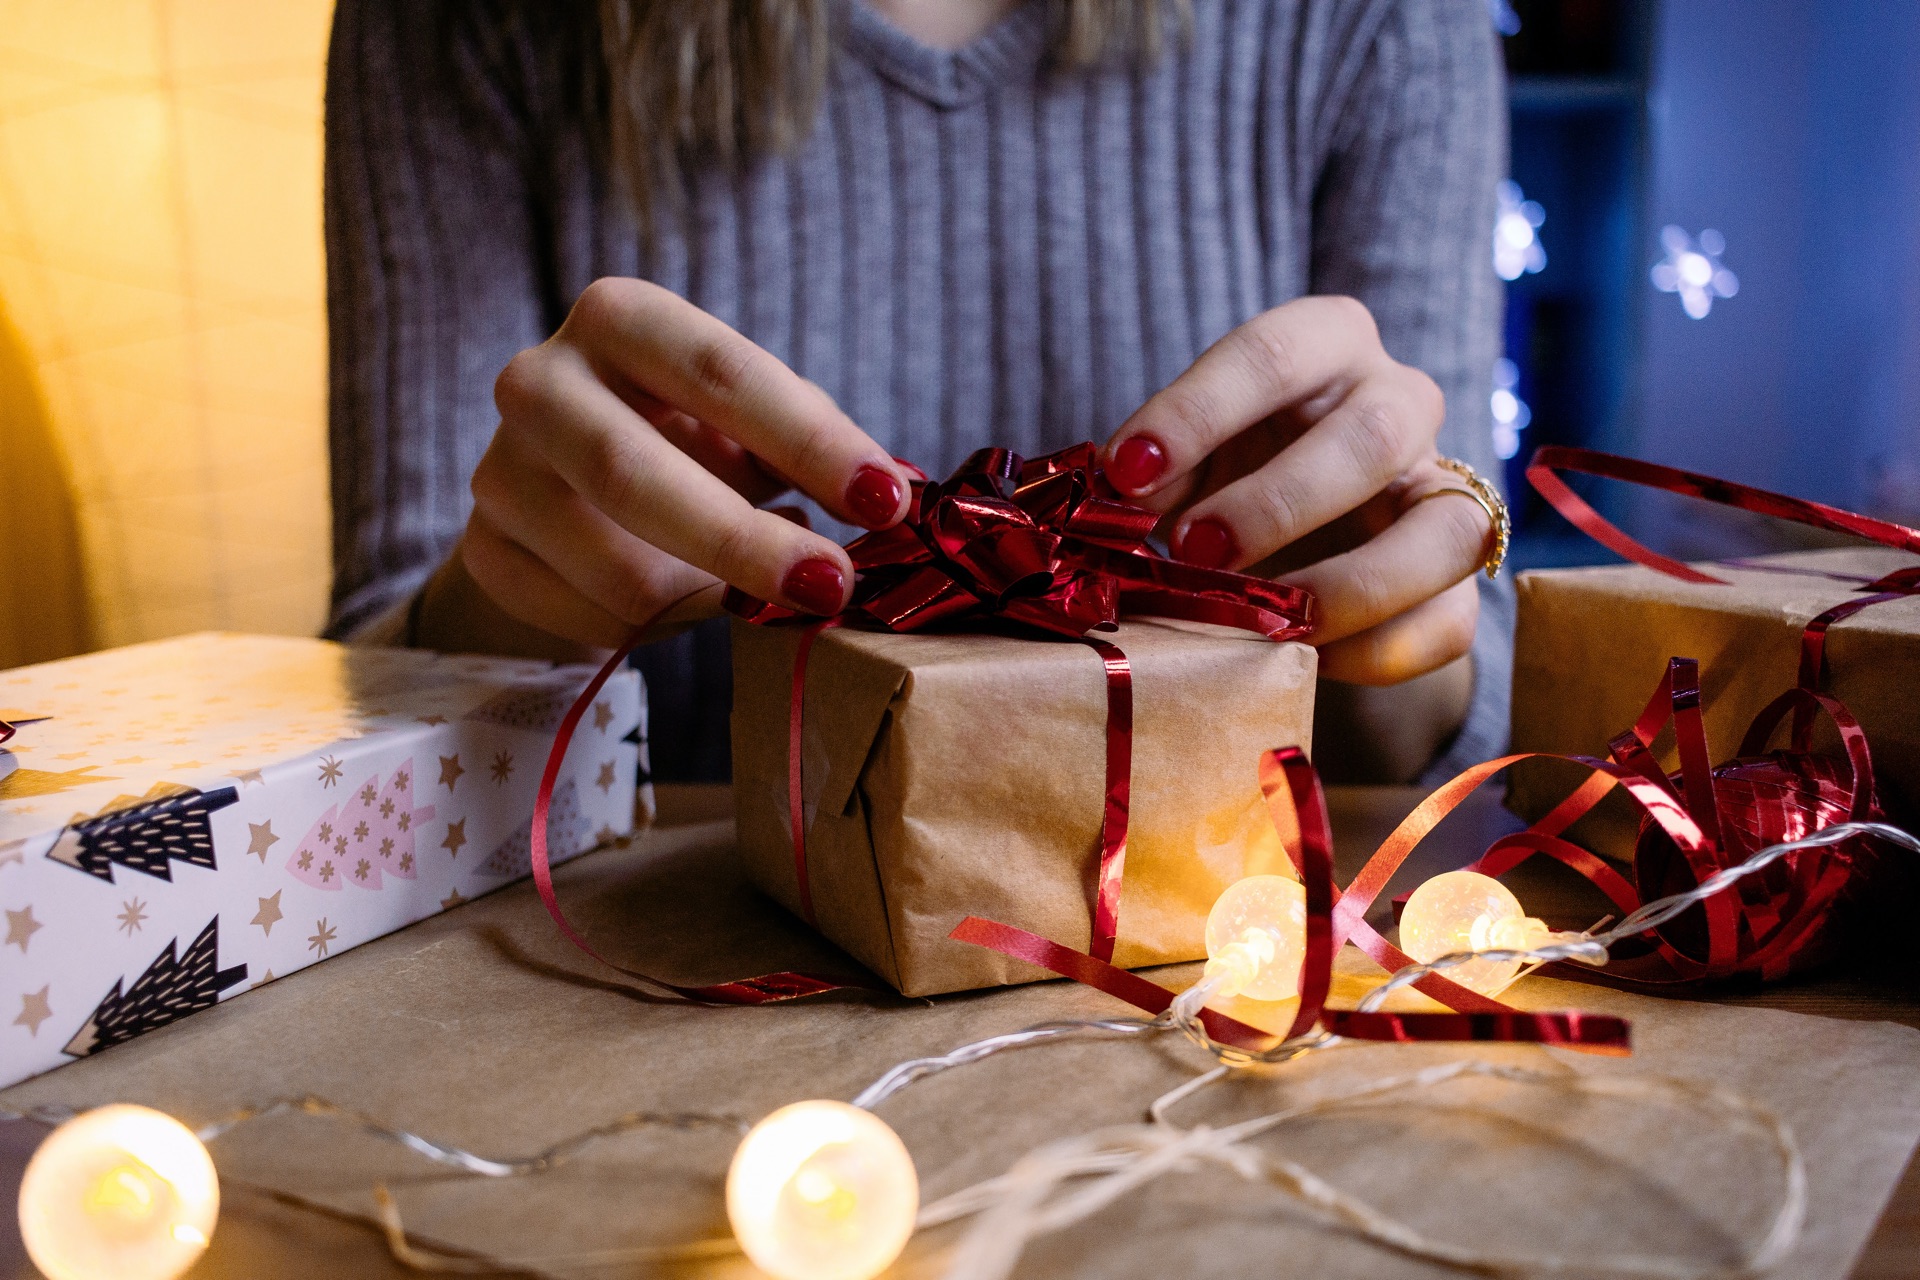
With Christmas around the corner, those that celebrate the festive holiday will be starting their present shopping. However, the present shopping and careful choosing of presents that best suit your loved ones is half of the work when it comes to Christmas presents, the wrapping of these presents is what makes Christmas presents iconic. Shoppers will be piling in rolls of wrapping paper with their Christmas shopping and, although the classic method is reliable, you may want to try and wrap some of your presents in different ways! I have picked some simple alternatives to help wrap presents that may not be an easy shape to wrap.
Quick and Easy Method:

The least time-consuming method that comes to mind is to simply buy boxes that your presents will fit in and then tie a ribbon around it. If you struggle with folding wrapping paper or just prefer the way boxes look, then you may want to buy boxes and a roll of ribbon. Despite the technical ease, this method will most likely be more expensive compared to buying one roll of wrapping paper due to having to buy many boxes for many presents. But this will depend on how many presents you will be buying, if you only have a few to gift, then boxes could be a good way to go about gifting this year.
Cylindrical Method:
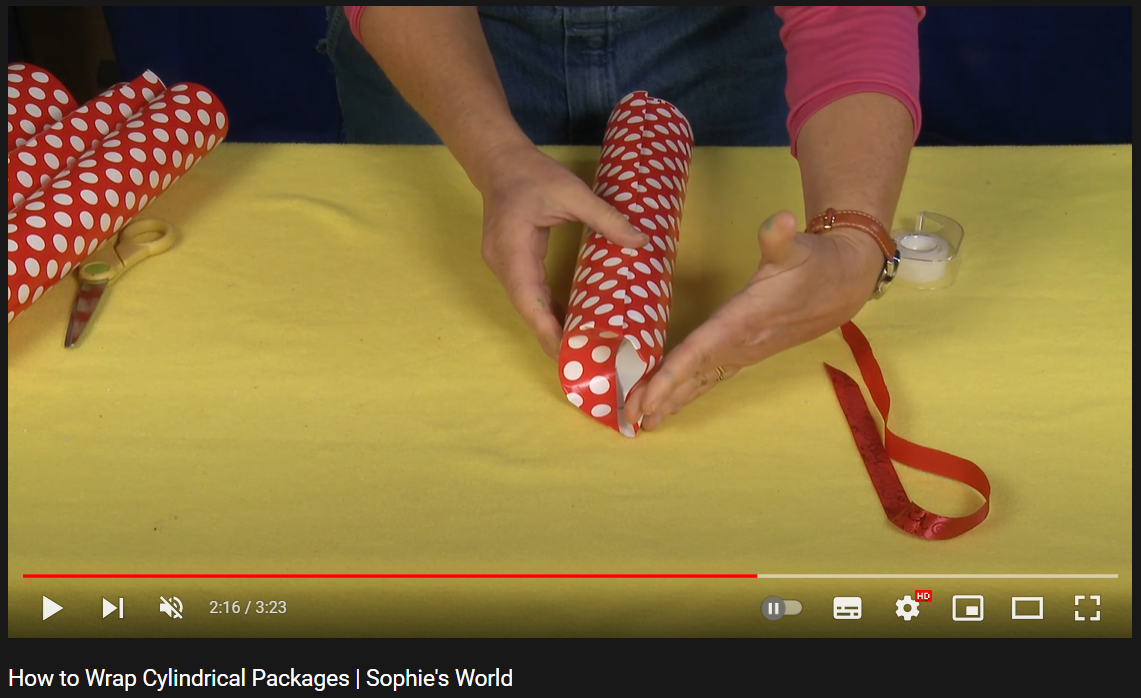
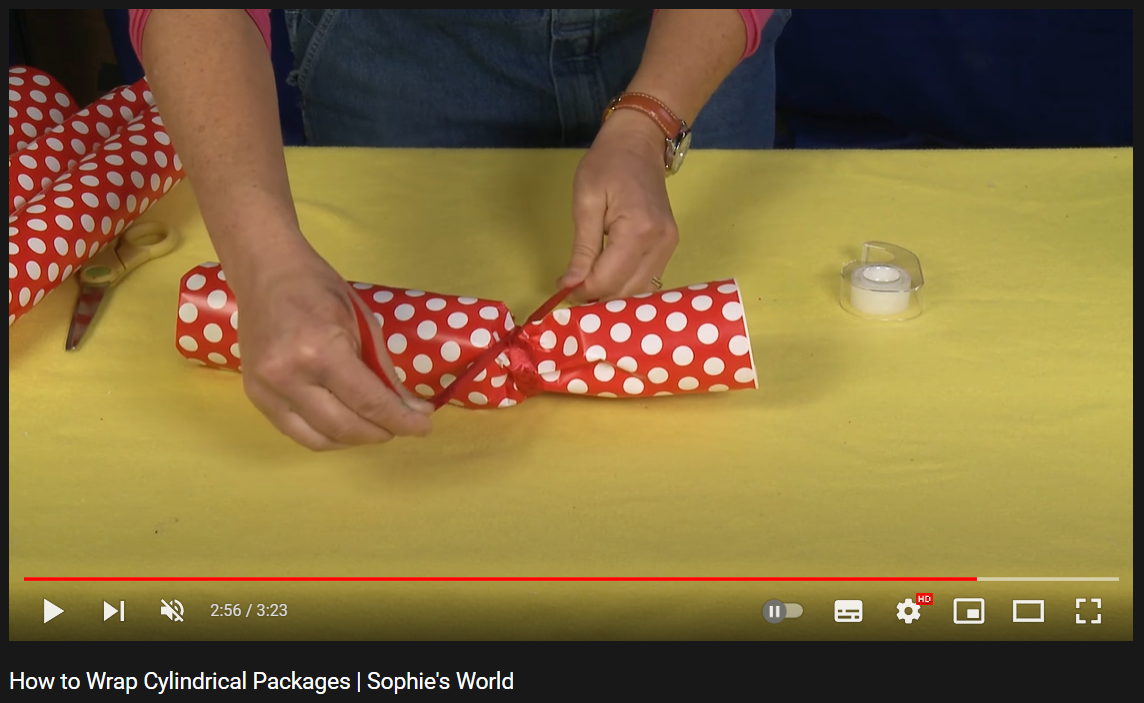
In order to wrap presents that will be an irregular shape compared to the commonly displayed cuboids, I usually default to two different methods. For cylindrical items, the easiest method I like to use is to wrap them in a way that makes them look like a bottle. Using the video made by SophiesWorldVideo, I will break down the steps below but if you prefer to watch the tutorial, feel free to use this link.
How to Wrap Cylindrical Packages | Sophie’s World
- Measure the bottle with the wrapping paper roll, so that you have enough wrapping paper to overlap the other side. Cut the amount you need and prepare sellotape strips beforehand for ease.

- After taping the wrapping paper around the curved surface, push the object up enough that you can fold the paper at the base inwards to cover the base of the object.
- Finally, at the top of the object, you just need to gather the paper and tie a ribbon around it where it would almost like the end of a sweet wrapper. If you struggle with wrapping the base of the object, you can just tie both ends like a sweet wrapper.
Unusual Shapes Method:
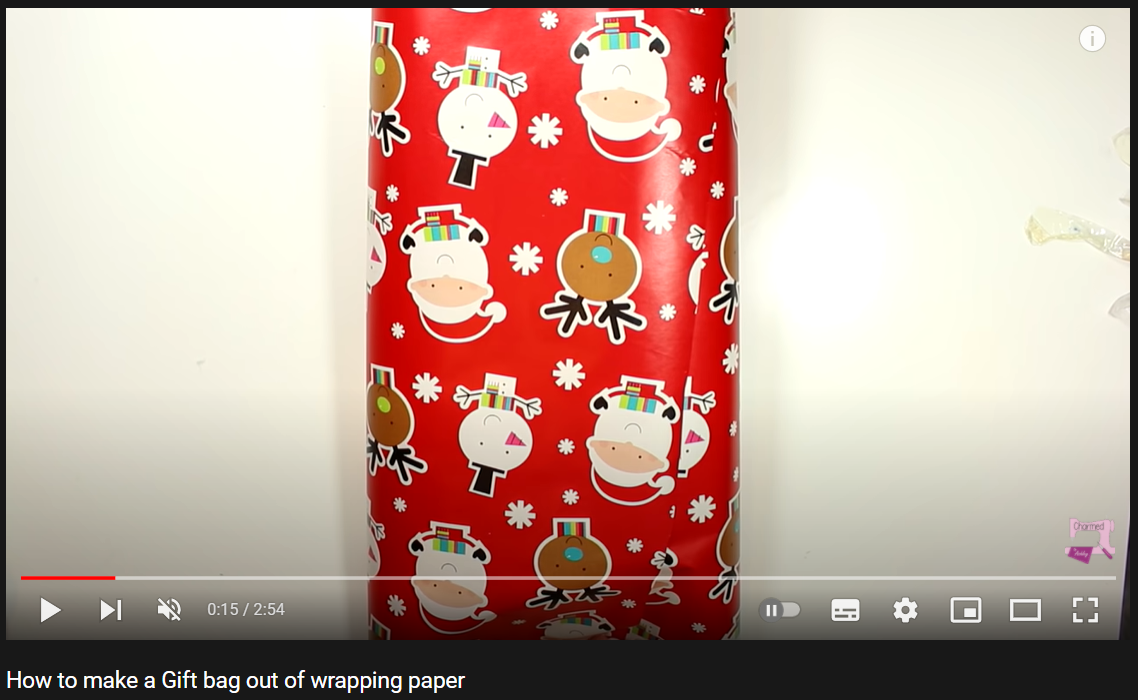
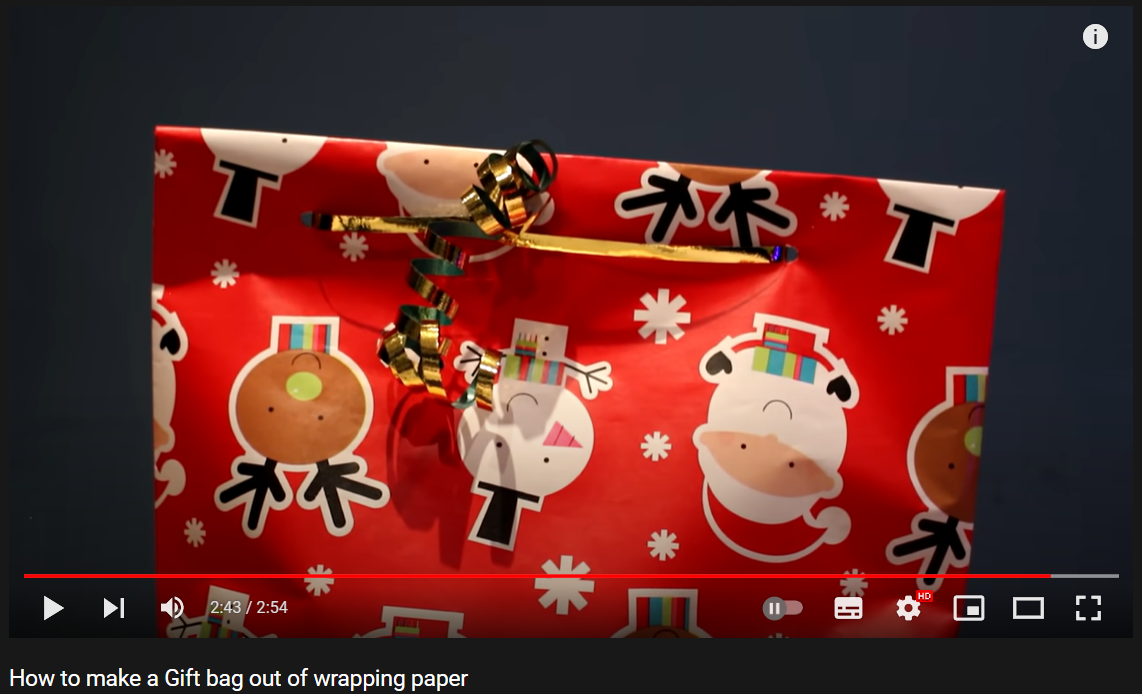
For any shape that is particularly unusual and would be hard to wrap, I like to create gift bags out of the wrapping paper and just pop the present inside of it, creating an easy present for loved ones to open. Being able to avoid using mounds of tape is always the best-case scenario as you do not have to use more tape than necessary and the person receiving the present will not struggle with mounds of tape on a difficult area. For example, toys that may not come in pre-packaged boxes tend to be the ones that I use the gift bag method with. Using a video made by Charmed by Ashley, I will break down the steps in a basic manner but click the link to the video if you would prefer to watch how it is done.
How to make a Gift bag out of wrapping paper
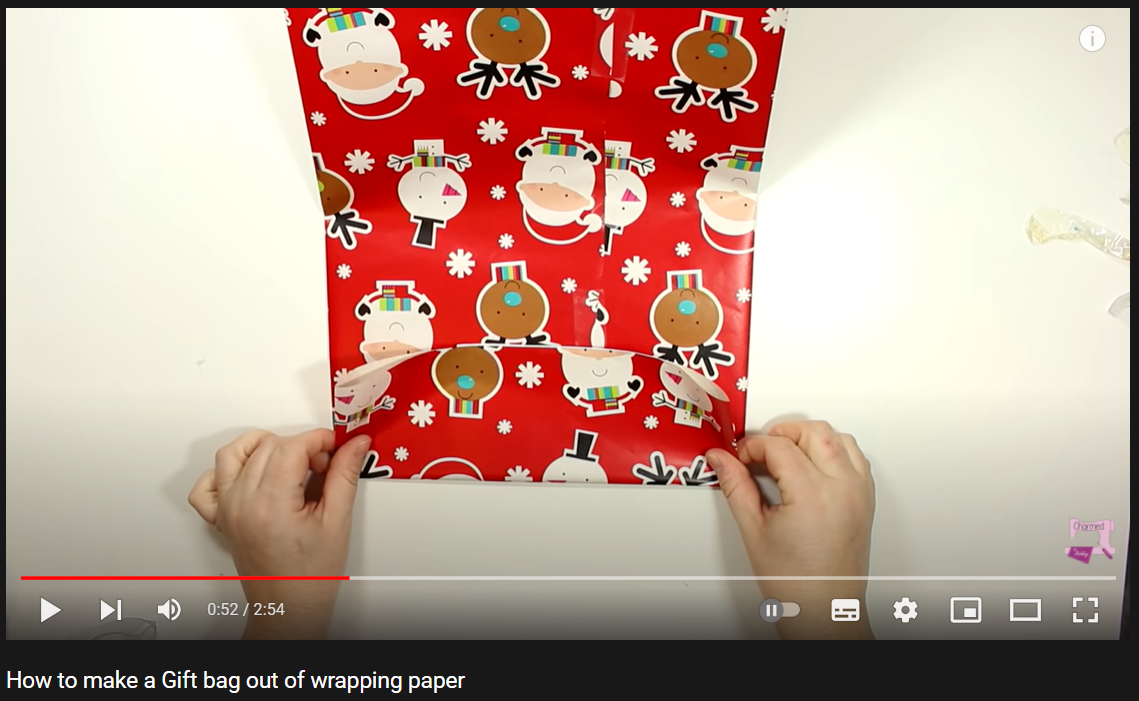
- First, measure the width of the present. Make sure that one end of the wrapping paper overlaps the other to ensure everything will be contained.
- Then take the object out and fold flat and tape the width you have just measured. Choose one open end to be the base of the bag. Keep the end you wish to be the base facing towards you and fold up depending on how large you want the base to be.
- Lift the flap you have just folded down up, so that it creates a 90-degree angle. Then open the flap slightly and start to push the edges where you have inward and down. Once it starts to create a hexagonal shape, push down all the way on the sides to create crisp folds.
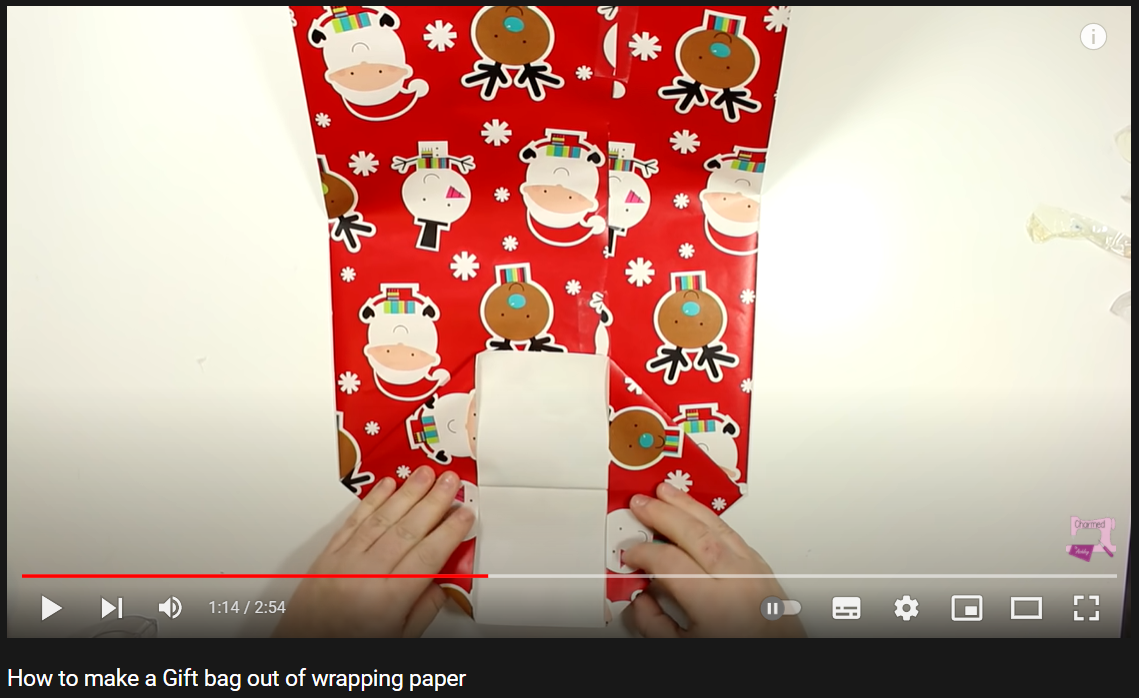
- Next, fold the top and bottom of the hexagonal shape inwards, so that the very outer edge touches the center line. The center line that was first created when you folded the end for the base of the bag. Start with the bottom edge. Once you have started to fold the top of the hexagonal shape down towards the center line, make it overlap slightly on top of the bottom edge you have just folded. When everything has been folded flat, tape any openings to create a strong base that will hold the item.
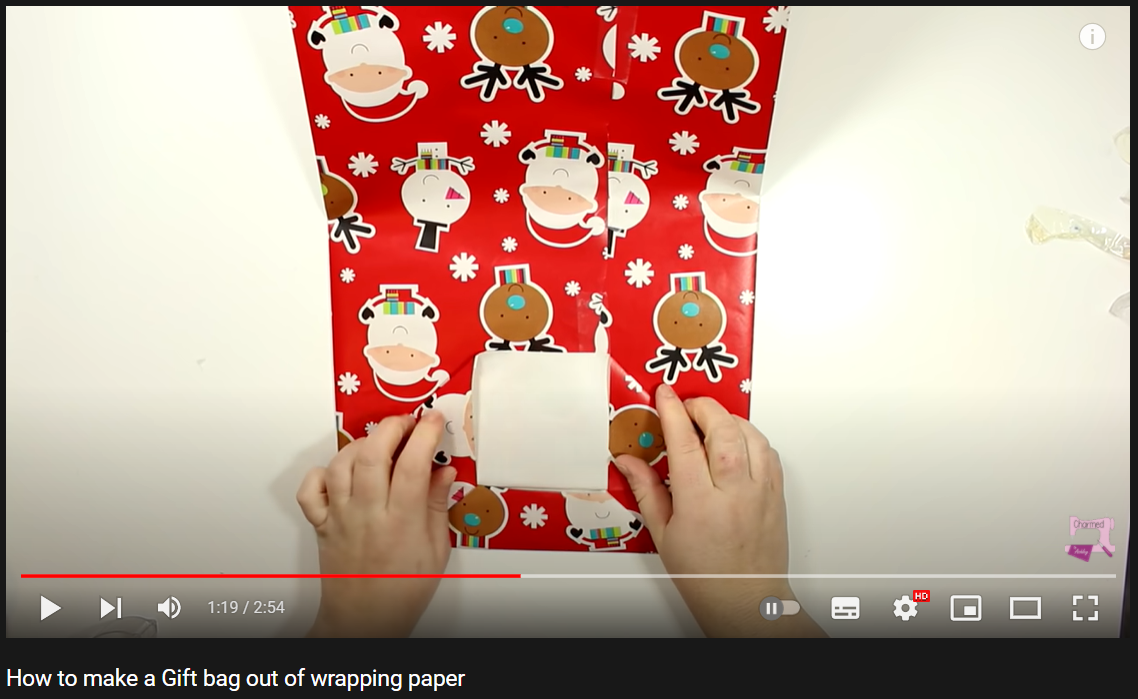
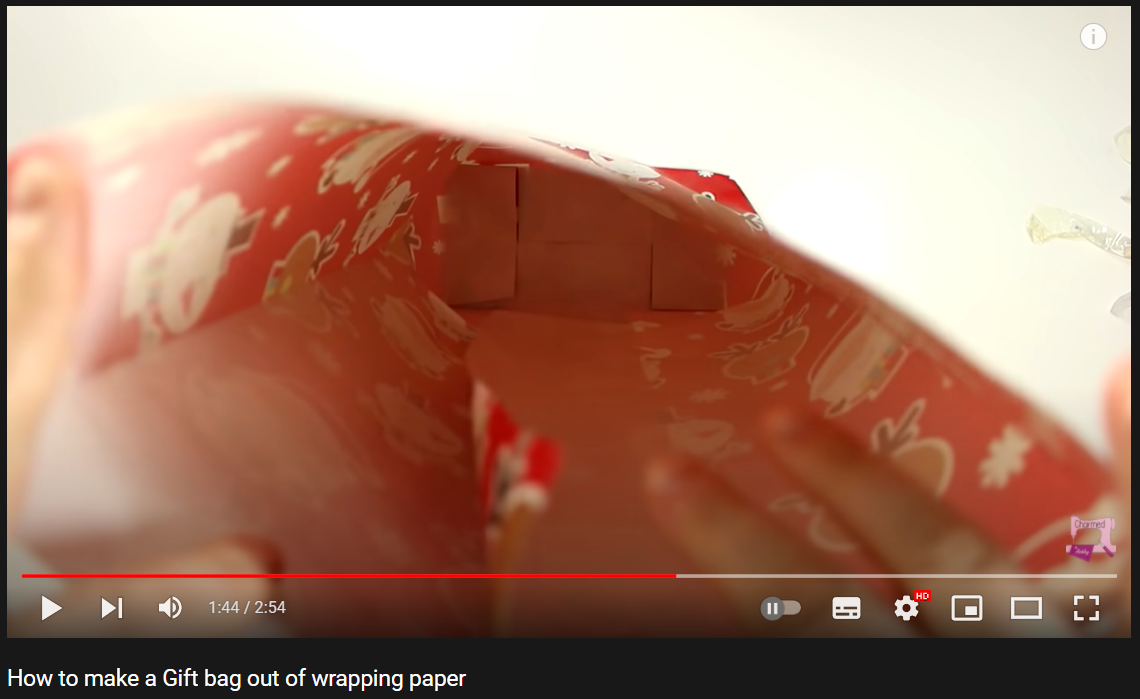
- Gently move the base you have been folding down to allow you to open up the bag from the top. It should look like the image below from inside.
- Finally, put the present inside the bag and fold the top of the bag down and seal it how you choose to. You can either tape down the entrance or punch holes through and tie a ribbon like in the video.
With these methods, I hope they have given some ideas of how to wrap your gifts this year. Happy holidays to everyone and hope that you all have a nice rest over this break!
About the author